Sound-activated lights: the microphone is in the light
Most colour lights only follow music while a phone sits in the room with the app open, listening through the phone's microphone. A sound-activated light has the microphone in its own controller, so the phone can leave. The trade is that the light now hears from wherever it is mounted, not from wherever the music is.
Key takeaways
- The microphone is in the controller: once it is set, lock the phone, close the app and leave; the light keeps reacting.
- In our apps the mode is called External Microphone — external to your phone, not an accessory you have to buy.
- Mount the controller in open air, off the speaker cabinet, away from fans, fridges and air-conditioning vents.
- Tune against the level indicator at real listening volume; with the music paused it should sit almost still.
- It reacts after the sound, never before. In a spot with constant noise, a timed scene looks more deliberate.
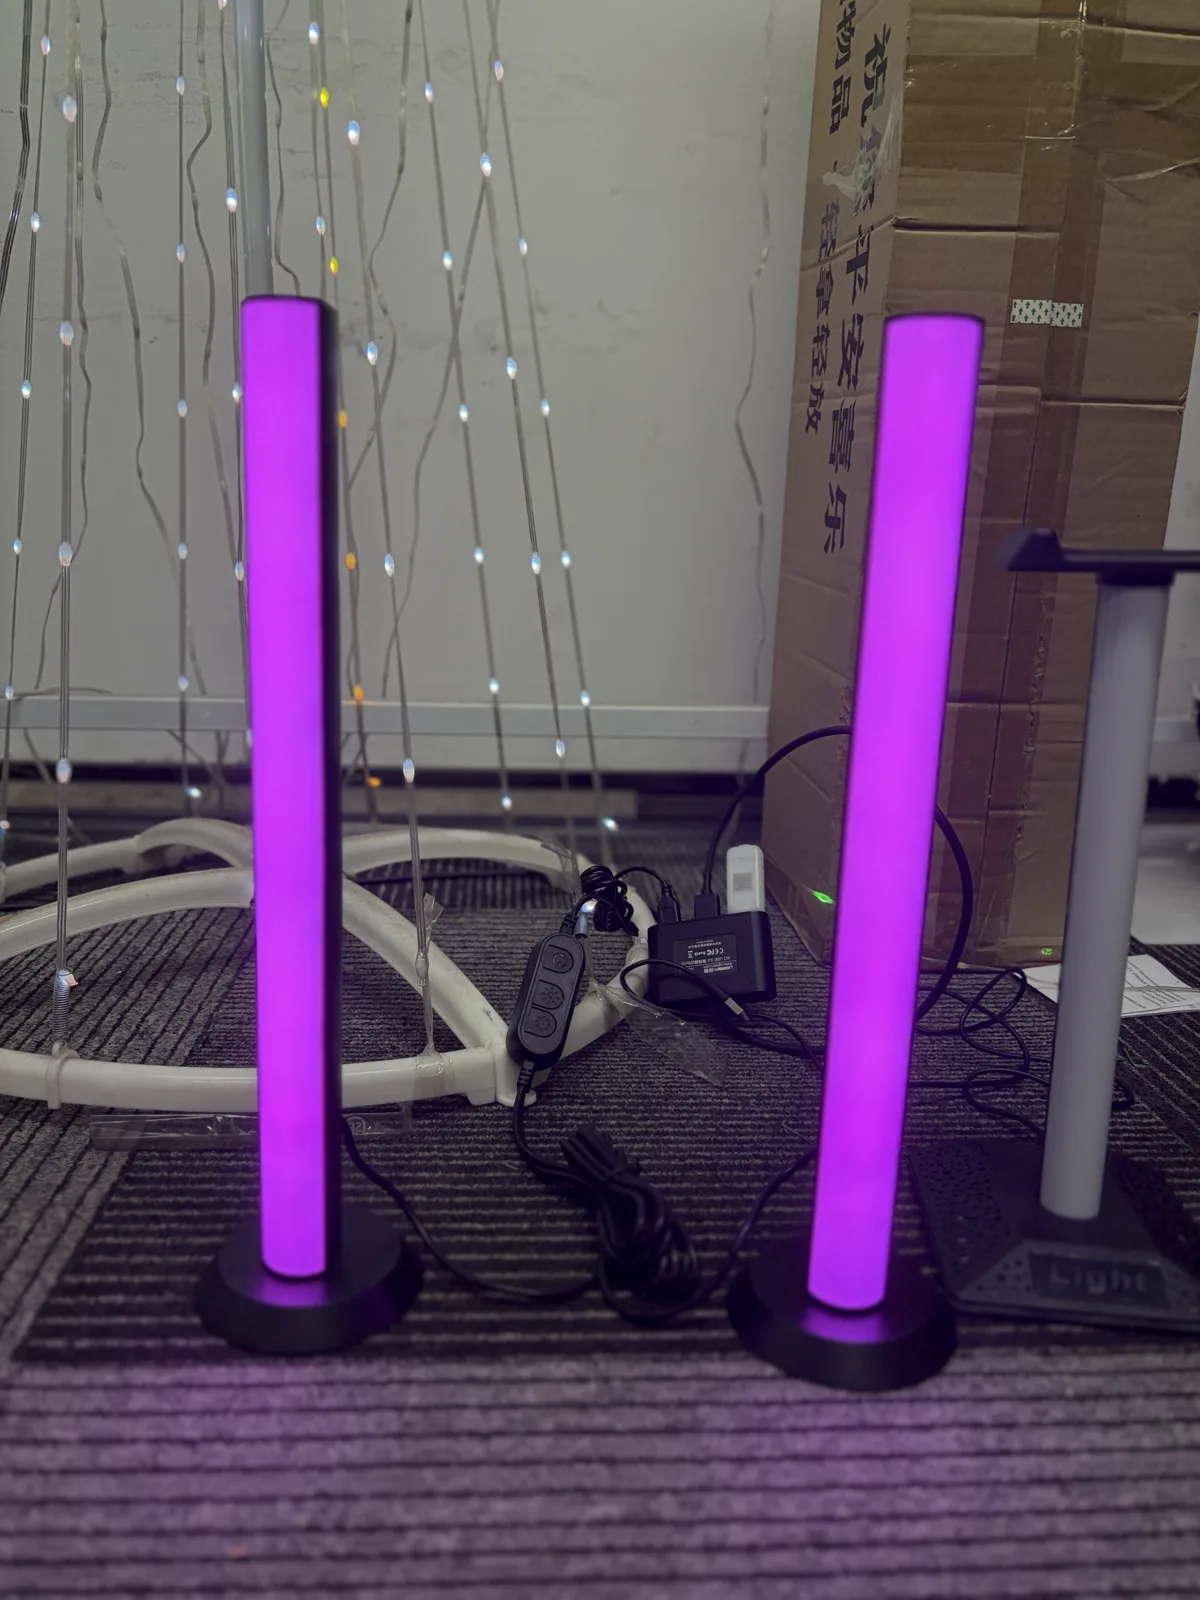
What makes it different from ordinary music sync
Almost any colour light can be made to react to music if you leave a phone in the room with the app open, listening through the phone's microphone. That works, but it ties up a phone and it stops the moment somebody walks off with it.
A sound-activated light does the listening itself. The microphone sits in the controller, alongside the electronics driving the LEDs.
| Phone microphone | Built-in microphone | |
|---|---|---|
| Phone must stay in the room | Yes | No |
| App must stay open | Yes | No |
| Keeps working after the phone leaves | No | Yes |
| What it hears | Wherever the phone is | Wherever the light is |
| Sensitivity and mode controls | Limited | Full |
Once it is configured, you can lock the phone, close the app, and walk out. The light carries on reacting on its own. For a party, a shop window or a permanent installation, that is the reason to buy this type rather than a plain music-sync strip.
Finding the mode in the app
In our apps this is the mode labelled External Microphone — meaning the microphone external to your phone, not an accessory you have to buy. It is the single most misread label in the app, and the reason people with a sound-activated light spend weeks using the phone microphone instead.
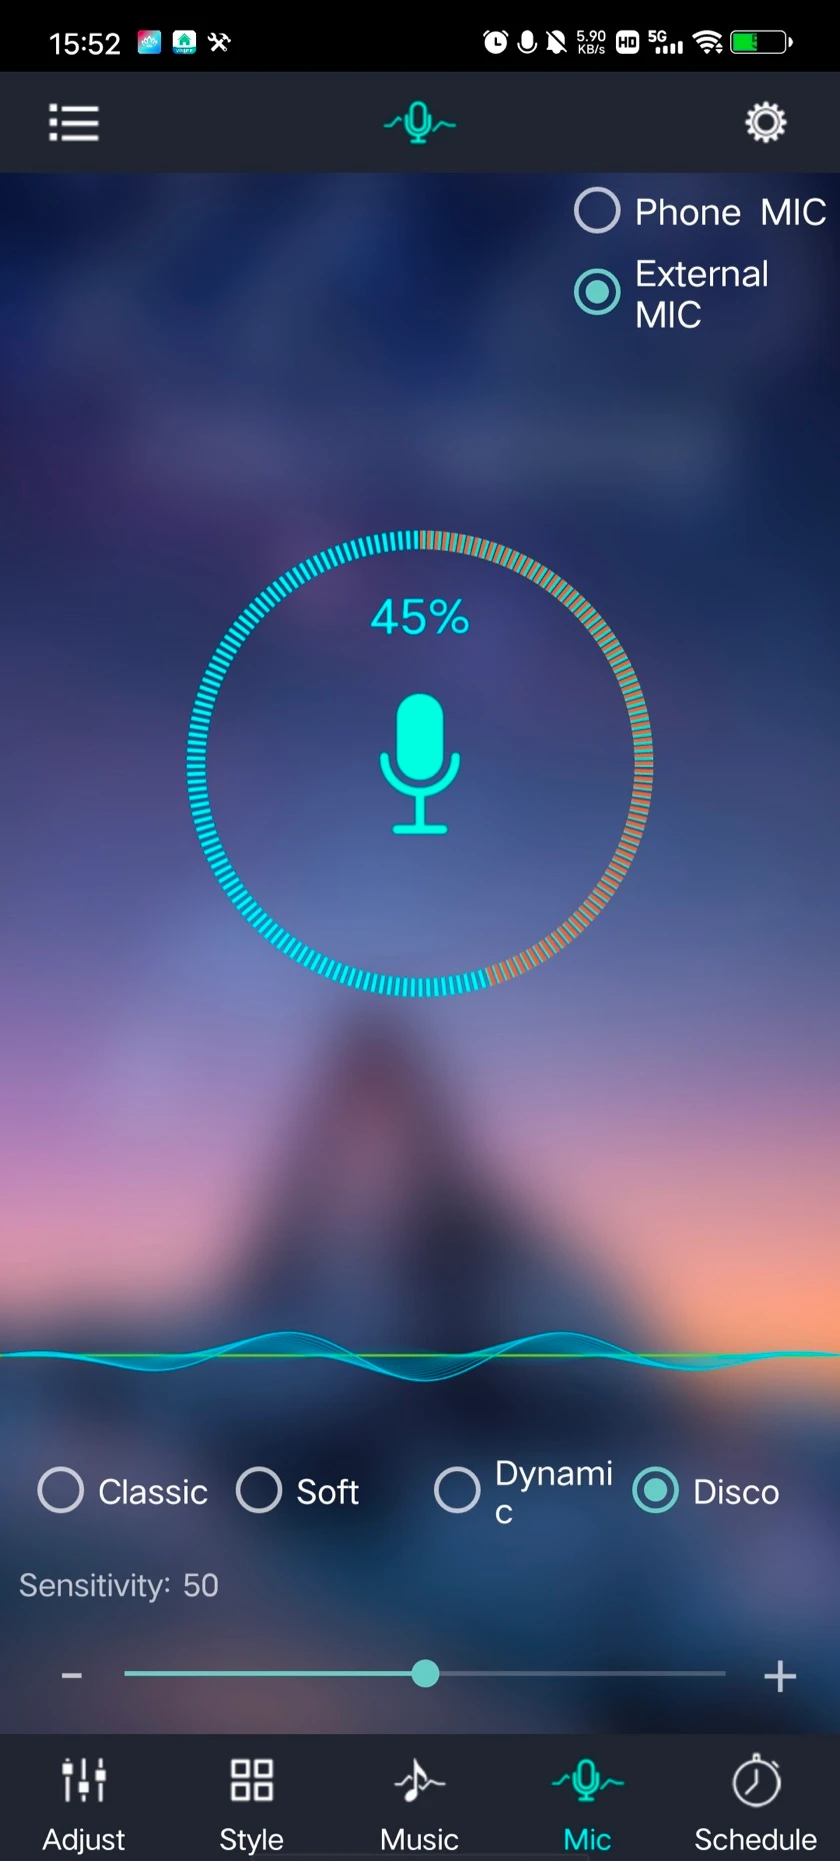
If the option is not there, your controller does not have a microphone, and the phone microphone is your route. The three sync modes guide covers that comparison in full.
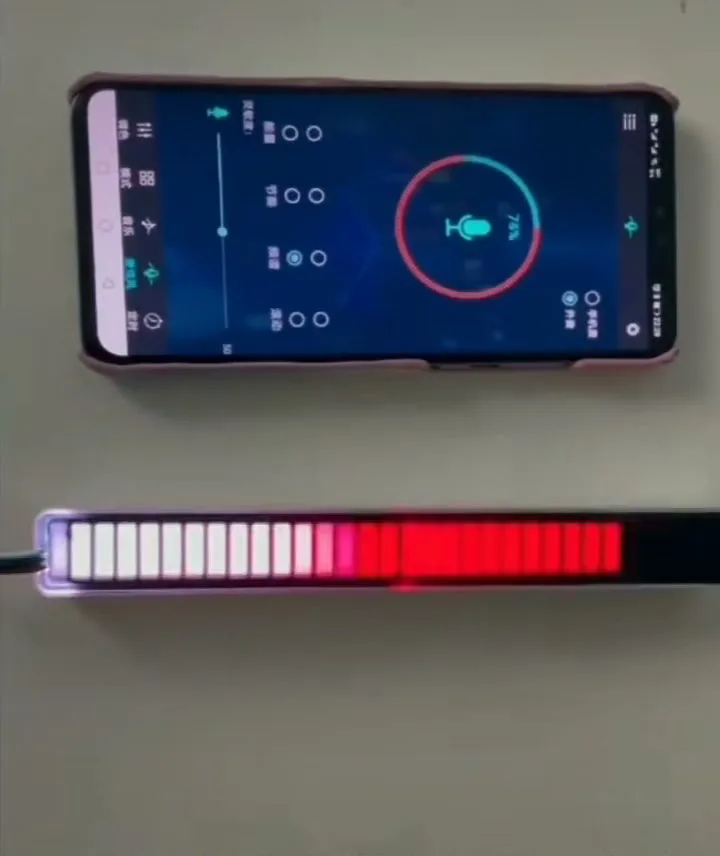
Where to mount it so it can hear
With a phone you naturally put it near the music. The light goes wherever the light needs to be — behind a television, up at a ceiling line, inside a cabinet, or across the room from the speakers. The microphone goes with it. So before you touch sensitivity, work out what the light can hear from where it is mounted.
| Where it ends up | What the microphone hears | What to do |
|---|---|---|
| Inside a cabinet, behind a panel, under a sofa | Music through furniture: muffled, mostly bass. Nothing in the app compensates for that | Move the controller into open air, even if the strip stays inside |
| Next to an air-conditioning vent, a fan, a fridge or a computer | A constant floor to sit above; it triggers on that rather than on music | Move one of them. No sensitivity setting removes a steady hum |
| On or against a speaker cabinet | Vibration as well as air-borne sound; it reacts to everything, violently | Lift it off the cabinet; a hand's width of air is enough |
| Across a large room from the speakers | Mostly reverberation rather than the beat | Bring it closer, or turn the controller to face the room instead of a wall |
If you have a choice, mount the controller in open air, off the speaker, and pointing into the room rather than into a wall.
How to set the sensitivity
Work with the level indicator on screen rather than by watching the lights. It tells you what the microphone is receiving, which separates "cannot hear" from "hears but is not reacting".
- Play music at the volume you actually intend to use. Tuning against a quiet test track guarantees the setting is wrong at party volume.
- Pause the music and watch the indicator. It should fall close to still. If it keeps moving, something continuous is being picked up — find it before adjusting anything.
- Raise sensitivity until the light responds on the beat, then back it off slightly. The point just below "reacts to everything" is usually where it looks best.
- Try the groove modes. They weight the incoming sound differently. A mode that looks superb on music with a hard beat can look inert on acoustic material, so pick against the kind of music the light will normally see.
- Leave the room and watch from a distance. Sound-reactive lighting looks quite different from across the room than it does standing next to it.

The dashboard version has its own routing and power rules, covered in car interior ambient lighting.
What sound-activated lighting cannot do
It reacts; it does not anticipate. The microphone hears a sound only once it has happened, and the light responds after that. On a strong beat the delay reads as being in time. On subtle music it can look like the light is trailing. No setting removes this — it is what reacting to sound means.
It also cannot distinguish music from other noise. A microphone hears applause, a door, a vacuum cleaner and a conversation exactly the same way it hears a bass drum. If a light is somewhere with a lot of incidental noise, sound reactivity may simply be the wrong effect for that spot — a timed scene will look more deliberate.
When it does not react the way you expect
| What you see | Likely cause | What to do |
|---|---|---|
| Worked at the shop, does nothing at home | Volume and position: shop demonstrations run loud with the light next to the speaker | Raise sensitivity, and check what the light is mounted against |
| Flickers all the time, even in silence | Sensitivity too high plus a constant noise source nearby | Pause the music and watch the level indicator; if it will not settle, move the light or the noise source |
| Only reacts to the loudest moments | Sensitivity too low, or the light too far from the source | Sensitivity first, since it costs nothing; then distance |
| Reacts, but the effect looks wrong | Groove mode, not sensitivity | Cycle through the modes with a track you know well |
| Stopped when the app was closed | It was running on the phone microphone, not the built-in one | Switch to External Microphone and set it again |
| One of a pair looks busier than the other | The two bars are at different sensitivities | Set both to the same value |
Select External Microphone, mount the controller in open air, tune against the level indicator at real volume, then close the app. If the light is not in the app at all, start with first-time pairing; if you are not sure which app to open, which app controls your light settles it. Questions about a specific sound-activated bar of ours? Contact us.