Decorating a Christmas tree in layers: lights first, then everything else in order
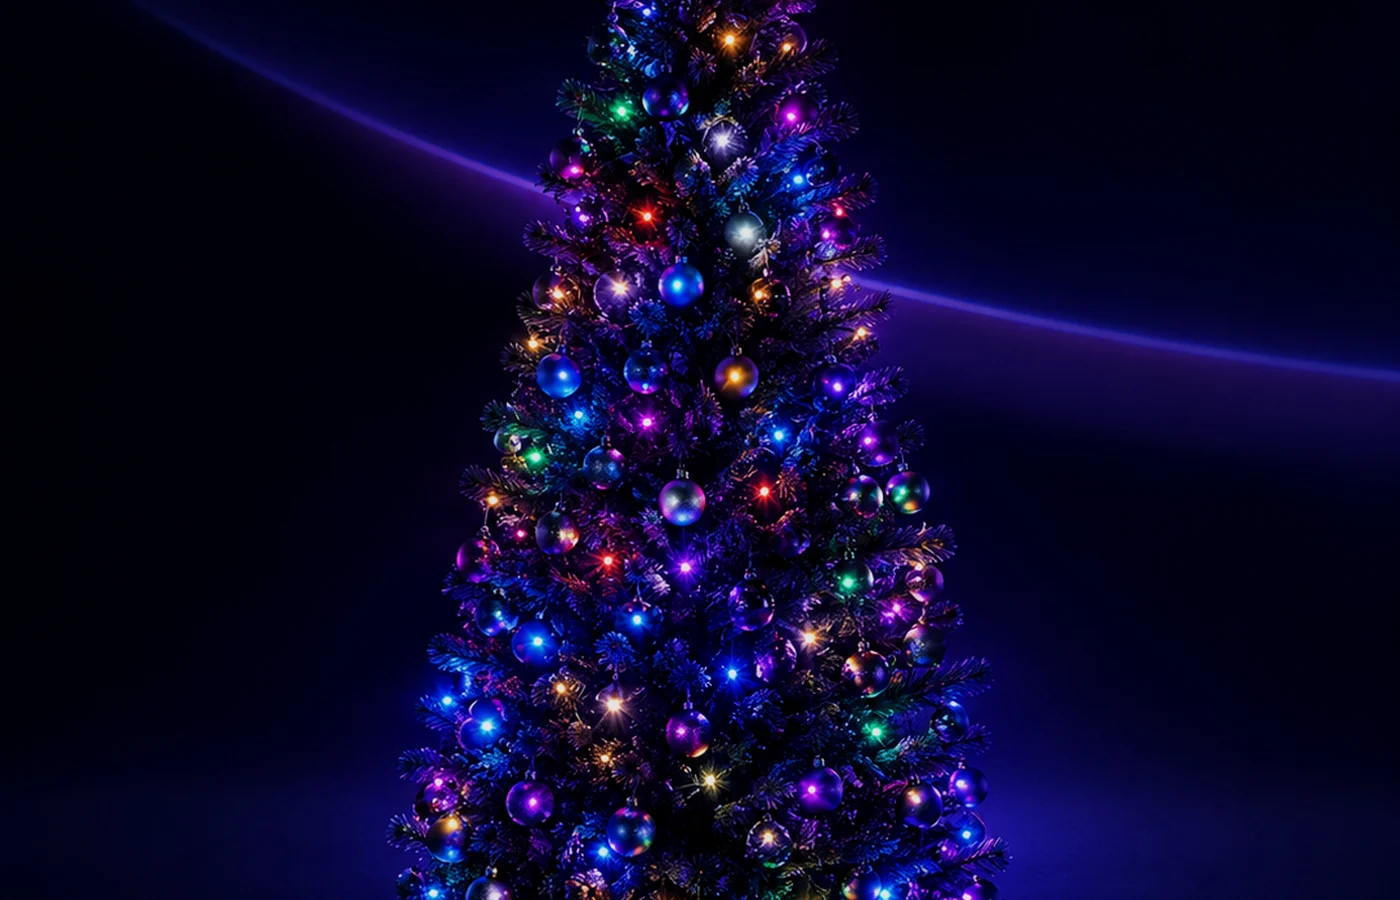
A tree with sixty baubles on it that still looks bare in the middle usually has one problem: the lights went on last, or went on the outside. A tree that looks full without looking busy is built in layers, from the inside out, lights first and deep, because everything that follows is placed against them. Get the order right and the quantities mostly take care of themselves; get it wrong and no number of ornaments fixes it.
Key takeaways
- Lights go on first, branch by branch and deep. Every ornament after them is lit from behind by that string.
- Order: lights, then large baubles inside and low, shaped pieces at the tips, ribbon, topper and skirt last.
- A 1.8 m tree: 15–20 large baubles, 30–40 medium, 20–30 small, 15–25 shaped pieces, one topper.
- Colour 6:3:1. Coloured lights count as one of the three; warm white lights are neutral.
- Same-kind ornaments form triangles, never a line. Step back 2–3 m after every layer.
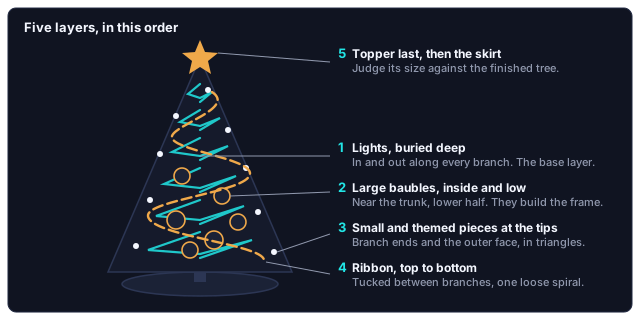
The order, and why it is this order
Five layers, each one placed relative to the layer before it. The sequence matters more than any individual choice within it.
- Lights, buried. The base layer. Branch by branch, deep into the tree, the way the string guide describes. The lights are the back-light for every ornament: a bauble hung in front of a bulb glows, and the same bauble next to a dark branch just hangs there. Nothing else goes on until the string is in, tested and hidden.
- Large baubles, deep and low. The frame. The biggest spheres go into the lower and middle of the tree, on the inside of the branches close to the trunk. They fill the gaps between branches and give the tree weight. Hung at the branch tips instead, they pull the branches down and read as afterthoughts.
- Medium and small themed ornaments at the tips. The style. Shaped pieces, which is where a tree's character comes from: snowflakes, cones, deer, nutcrackers, whatever the theme is. They go where they will be seen, at the branch ends and on the outer face, spread unevenly on purpose so the eye keeps moving.
- Ribbon or garland. The line. Top to bottom in a loose spiral or a wave, tucked between branches rather than laid on the surface, so that it links the decorated areas into one composition instead of dividing the tree into bands.
- The topper, then the skirt. The finish. The star or bow goes on last, once the tree is otherwise done, so its size can be judged against everything below it. Then a tree skirt or a collar around the base to hide the stand, the plug and the supply.
How many, and how big: a 1.8 m tree as the reference
These are the quantities that fill a normally proportioned 1.8 m (6 ft) tree without crowding it. The proportions between the rows matter more than the totals.
| Ornament | Size | Quantity | Where it goes |
|---|---|---|---|
| Large baubles | 8–10 cm, about a grapefruit | 15–20 | Inside near the trunk, lower and middle of the tree |
| Medium baubles | 6–7 cm, a tennis ball | 30–40 | From the middle of the tree out to the surface, staggered |
| Small accent baubles | 3–4 cm, a table-tennis ball | 20–30 | Near the top and on the outer twig ends |
| Shaped themed ornaments | 5–15 cm | 15–25 | The most visible positions, in the band at eye level |
| Topper | 20–30 cm | 1 | The very top |
For a 1.5 m tree take roughly two thirds of each row. For a 2.1 m tree add about a third. The lights are sized separately and by length rather than count, which the string guide covers, and a tree that is short of string cannot be rescued by adding ornaments to it.
Colour: the 6:3:1 split
Pick one dominant colour and let it take about 60 percent of what is on the tree. Traditional red or gold are the usual choices. A second, supporting colour takes 30 percent: green or silver against red or gold. A third accent takes the last 10 percent: white, or something with glitter. More than three colours and the tree reads as clutter no matter how carefully it is spaced. On the 1.8 m tree above, with around a hundred pieces in total, that is roughly sixty in the main colour, thirty in the second and ten accents.
The lights count towards this. Warm white lights, around 2700K and candle-coloured against the green, are neutral and suit any split. Coloured lights are one of the three colours, usually the dominant one, so a tree on multicolour lights has already spent two of its three slots before a single ornament goes on, and looks better with ornaments held to one colour plus a metallic. If the string is colour-changing, choose the split for the colour it will spend most of its time on, not for the effect you audition it with.
Spacing: the triangle rule, and stepping back
Ornaments of the same kind, or the same colour, should never sit in a vertical or horizontal line. Place each one so that it makes a triangle with the two nearest of its kind. Done consistently this produces a scatter that looks accidental and is not, and it is the single habit that separates a tree that looks decorated from one that looks arranged.
After each group of ornaments goes on, step back two or three metres and look at the whole tree. Thin patches and heavy patches show at that distance and not from arm's length, and they are far easier to fix while that layer is still the outermost one. Turning the room lights off for this check is the fastest way to see whether the lights are evenly distributed underneath.
When to stop adding. The moment you can no longer see the lights between the ornaments from across the room. The string is the base layer, and once it disappears the tree has gone from full to crowded.
What the lights do to the ornaments
Because everything sits in front of the string, a few things about the string decide how the ornaments look.
- Glossy baubles want a bulb behind them. A glass or high-gloss sphere with a light directly behind it glows from within. In front of a dark branch it reflects the room instead. When the large baubles go in at step two, put each one in front of a bulb.
- Matte pieces want light from the side. Felt, wood and paper ornaments do not glow. They look best where a nearby bulb lights their face, which usually means the outer band where the small string loops are.
- Ribbon over a bulb dims it. Tuck the ribbon between branches rather than across them, and it passes between bulbs rather than in front of them.
- Keep moving effects slow. A colour-changing string running a fast chase turns every glossy bauble into a flicker. A slow fade or a breathing effect lets the ornaments glow instead of strobe. Which app runs the string is in which app controls your light.
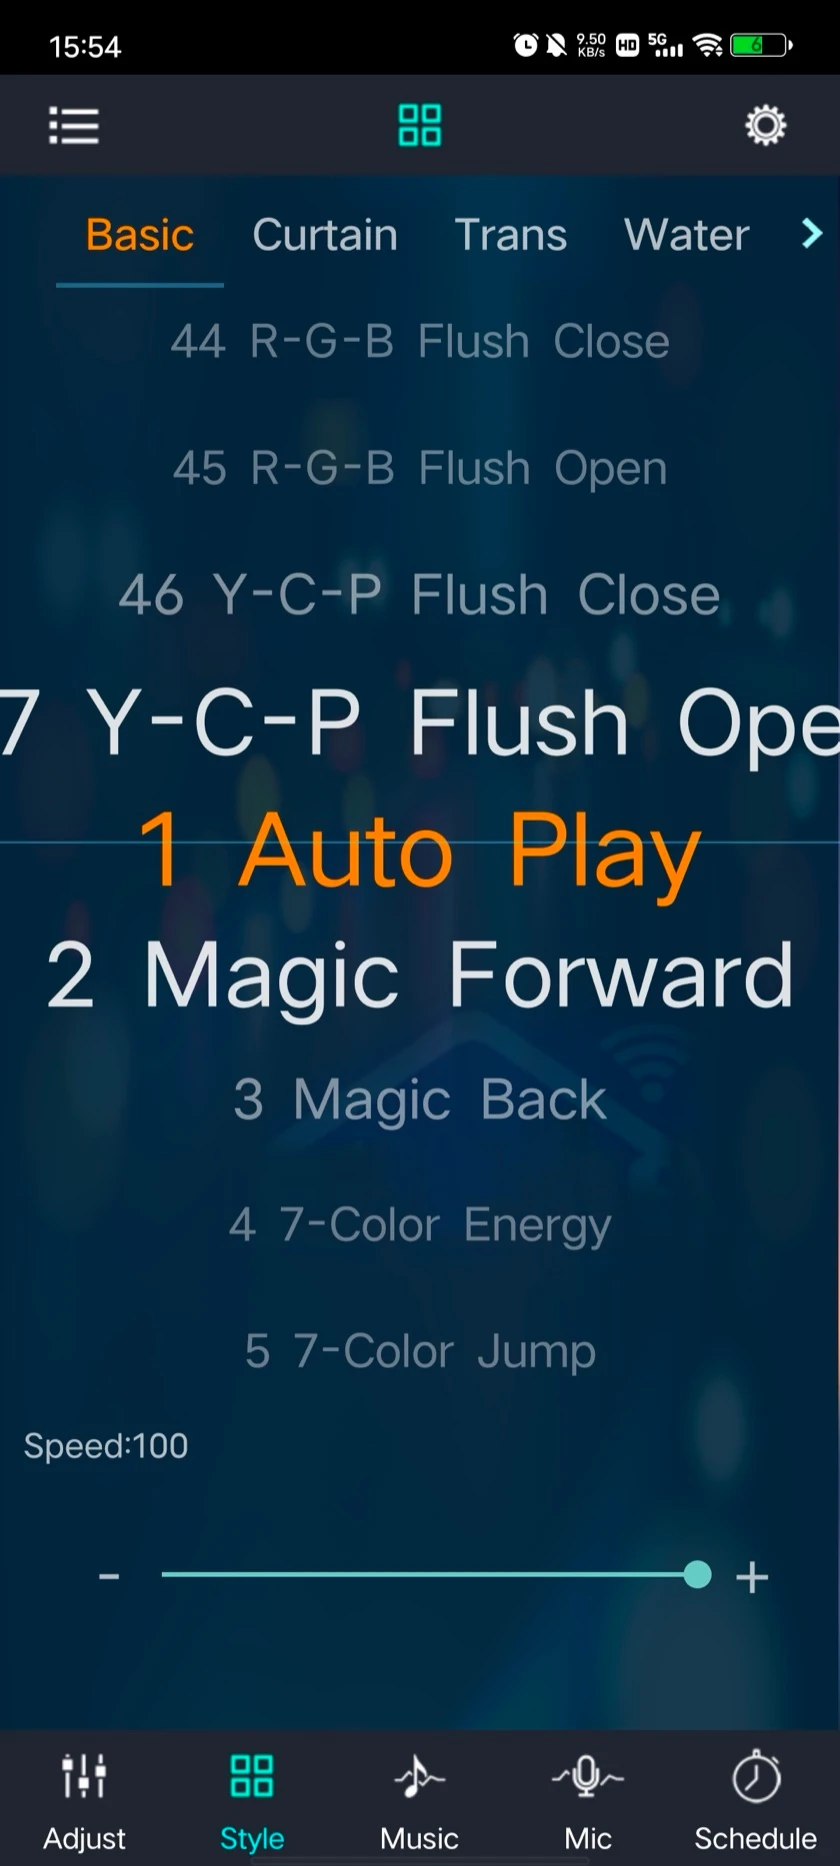
Two things about that screen matter once the ornaments are on. The speed control carries a numeric value, so when a fade looks right against the baubles, write the number down: it is the setting you will want back next December, and a number is far easier to restore than a slider position. And Auto Play cycles through every mode in the list on its own, which is useful for auditioning effects on a bare tree and a poor way to leave a finished one, because it will eventually land on a fast chase and turn every glossy bauble into a flicker.
A real tree, small children, or ornaments already on
The order does not change in any of these cases. What changes is a detail inside one layer.
| Situation | What changes |
|---|---|
| Ornaments are on, lights are not | Take the ornaments off and start again. A string added last stays on the surface — it cannot be woven inward past the ornaments, and the ornaments hide the bulbs. |
| Real cut tree | Stand it in water for a day so the branches drop before anything goes on. Keep any older incandescent string well inside the tree and off the drying tips; the safety note in the string guide applies twice over. |
| Small children or pets | Shatterproof ornaments on the lower third, glass higher up. Nothing hanging below the lowest branch. Plug and supply behind the skirt, not on show. |
Buy the string by length before anything else, then the ornaments in the proportions above, and put them on in the order above. If the string is one that changes colour, settle the effect and note its speed number before the first bauble goes on.
Questions about a specific string of ours? Contact us.