Sunset lamp placement: the distance, angle and wall that get closest to the photos
You set the sunset lamp on the floor, point it at the wall, and get a pale amber circle instead of the deep orange in the listing. The camera made that orange. What your eye gets is decided by three choices: how far the lamp sits from the wall, at what angle, and what the wall is made of.
Key takeaways
- Moving the lamp from 1 m to 2 m doubles the disc and cuts brightness to a quarter. Most look best between 0.5 m and 2 m.
- Aim into a corner or from one side, and let furniture cut the bottom of the disc. A full circle square-on reads as a projector.
- Matt white or cream walls only. Blue or green paint turns the orange brown; gloss puts a hot spot in the disc.
- A real low sun is 1800–2200 K: red full, green about a third, blue at zero.
- Listing photos come from a locked exposure and a warm white balance. Your eye adapts to the colour in about a minute.
Why the room never looks like the listing
Nearly every sunset lamp image you have seen was made by a phone camera in a dark room. The camera holds a long exposure, pushes saturation, and sets white balance so the warm light reads as a rich orange rather than the dull amber your eye reports.
Your eye adapts instead. In a dark room a warm light source stops looking dramatically orange after about a minute and starts looking like ordinary lamplight. That gap between camera and eye is not a product fault and no lamp closes it.
Decide which you bought the lamp for. For photographs, set up for the camera — the steps are further down. To sit in, set up for the room and expect something calmer than the photos.
How far from the wall
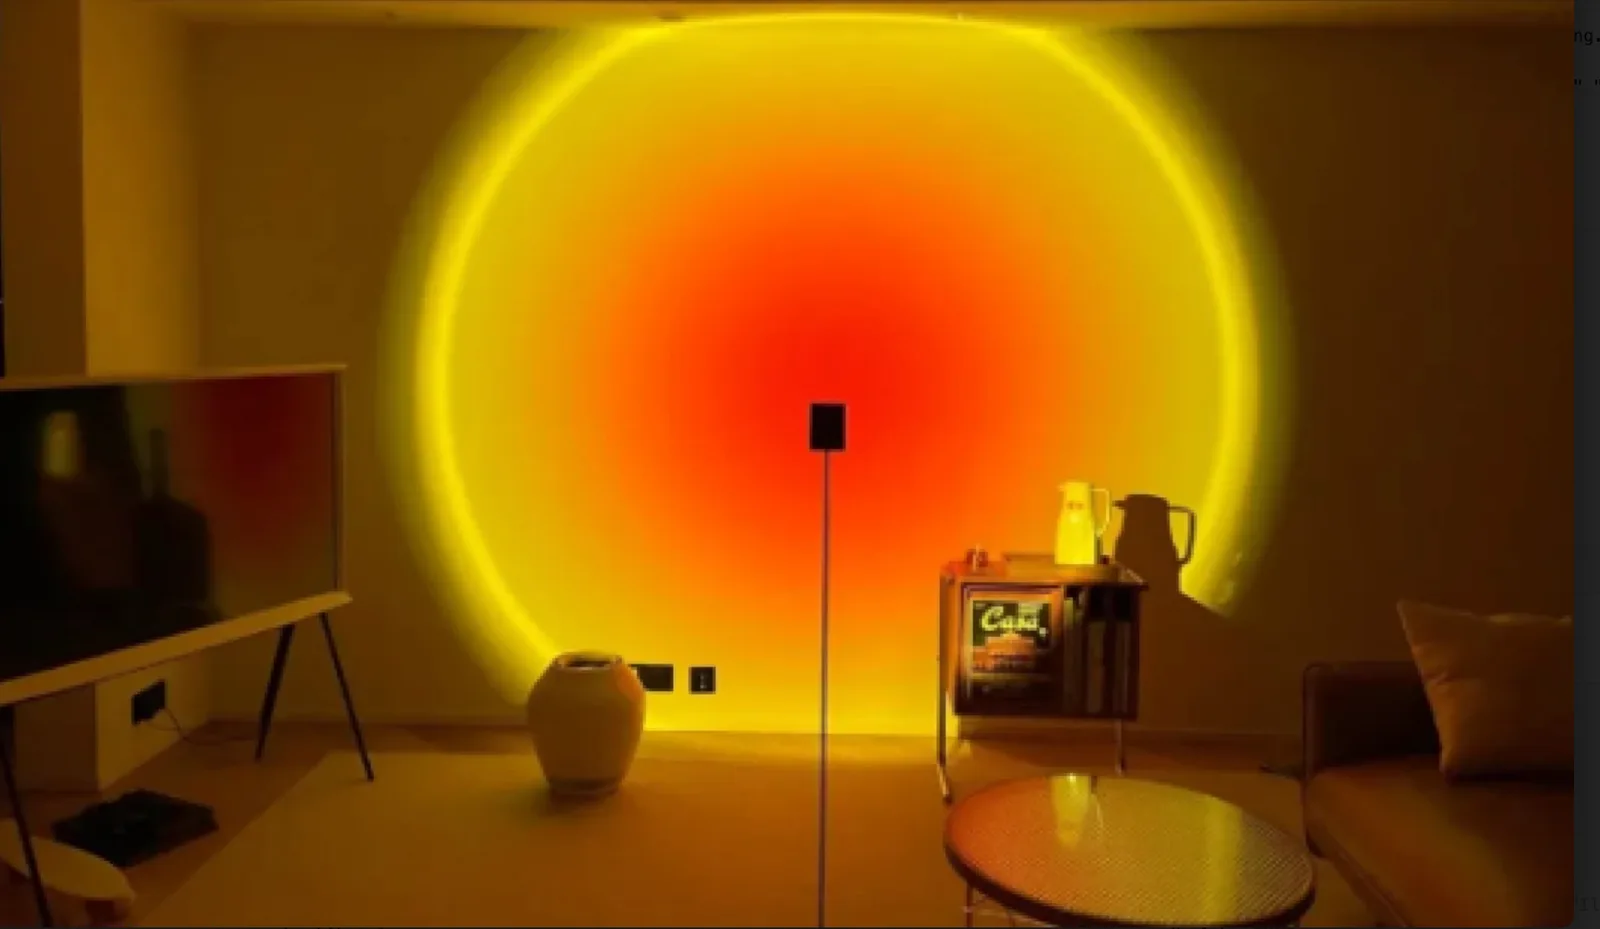
The disc grows with distance, in exact proportion. Move from 1 m to 2 m and the disc doubles in diameter — and because it now covers four times the area with the same light, it is a quarter as bright.
Close = small, intense, sharply defined. Far = large, soft, dim.
| Distance to wall | Disc diameter | Brightness | Edge |
|---|---|---|---|
| 0.5 m | 1× | 1× | Hard rim, hot centre |
| 1 m | 2× | ¼ | Defined rim, even fill |
| 1.5 m | 3× | 1/9 | Rim softens into a gradient |
| 2 m | 4× | 1/16 | Soft glow, little definition |
Most of these lamps are happiest somewhere between about 0.5 m and 2 m from the wall. There is no single right answer, but there is a reliable method:
- Turn off the room lights first. Judging the effect with a ceiling light on will send you to the wrong distance every time.
- Start close and walk it back. Watch the edge of the disc. Close in, it has a defined rim; further out, the rim softens into a gradient. Pick the point where the edge looks the way you want, not the point where the size is right — you can adjust size by moving the lamp sideways or changing the angle.
- Check it from where you will actually sit. These lamps are usually set up by someone crouching next to them, which is the one viewpoint nobody ever looks from afterwards.
Round sun or stretched sun: the angle
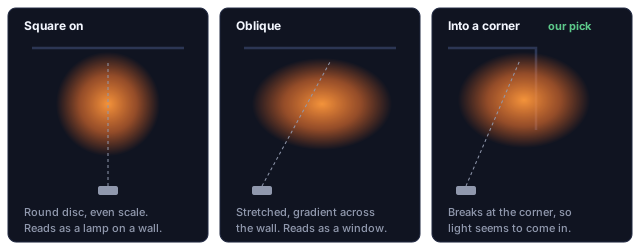
Square to the wall, the projection is a circle. Off to one side, it stretches into an ellipse that is larger and dimmer on its far side. The head on most of these lamps tilts through about 180°, so all three placements below come from the same stand.
- Square on, low down, aimed up: a clean round disc with a glow above it. The closest thing to a literal sun.
- Oblique, from one side: a stretched band of light with a gradient across the wall. This is the look in most of the photographs — it reads as light coming through a window rather than as a lamp pointed at a wall, and it is the more convincing effect in a real room.
- Aimed into a corner: the projection wraps across both walls and breaks at the corner, which produces the strongest sense that light is entering the room from somewhere. Our favourite placement, and the one that photographs best.
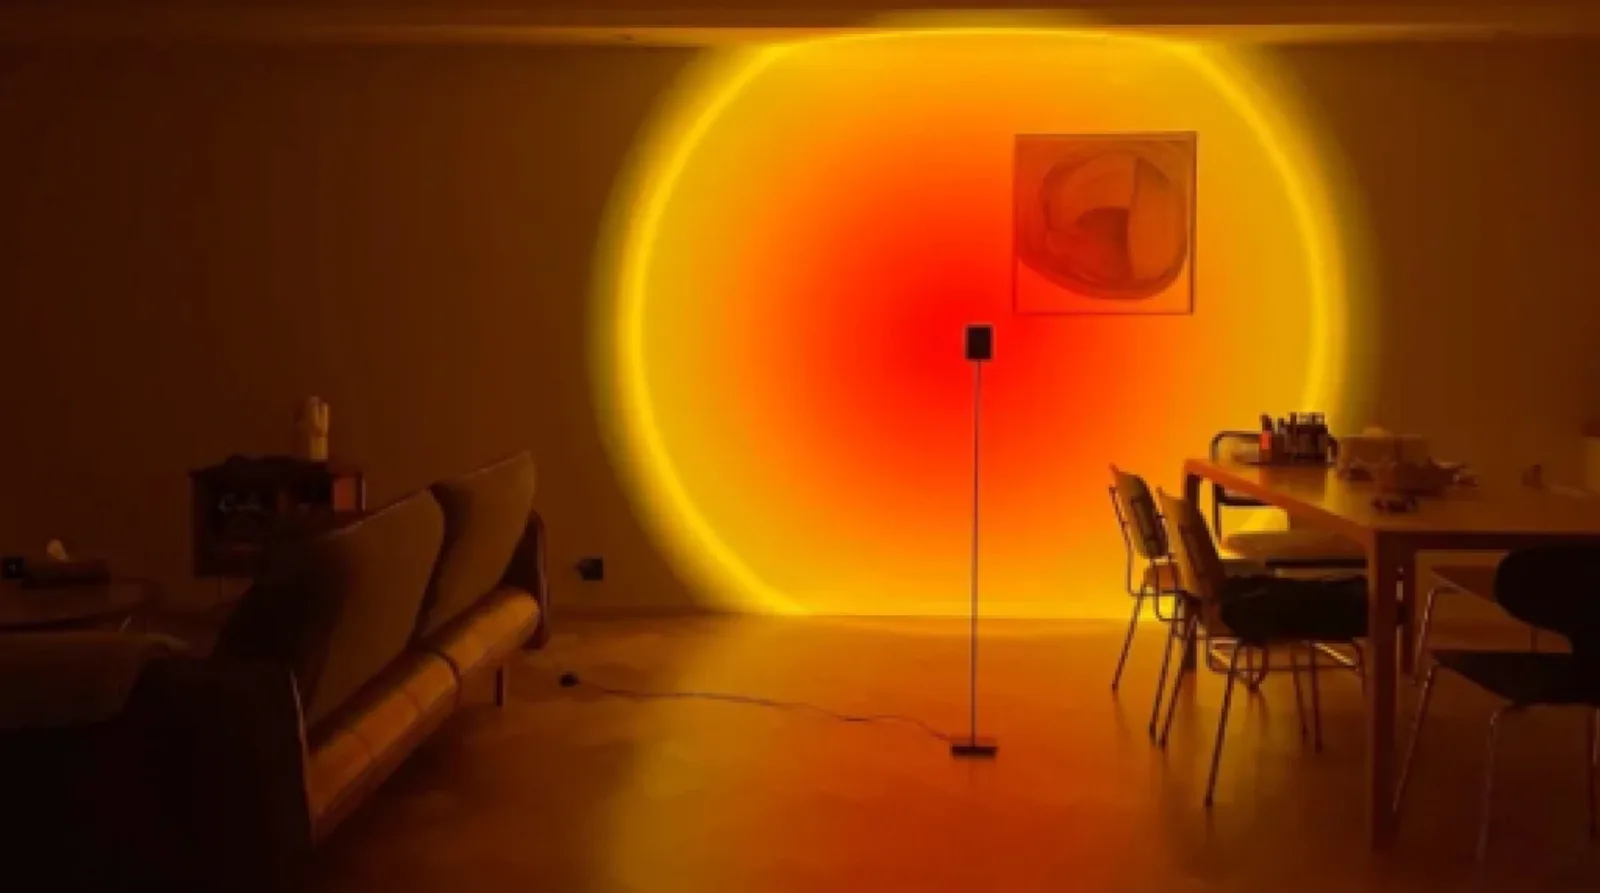
The half-sun trick. Aim the lamp so the bottom of the disc is cut off by the floor, a shelf, or a piece of furniture. A partially occluded disc reads as a sun on a horizon; a complete circle floating on a wall reads as a projector. It is the single biggest improvement available and it costs nothing.
What you project onto
The wall is part of the optical system, and it changes the colour, not just the brightness.
| Wall | What happens |
|---|---|
| Matt white or off-white | Best. True colour, clean gradient |
| Warm magnolia or cream | Slightly richer, slightly less defined. Usually fine |
| Grey | Colour survives, brightness drops noticeably |
| Blue or green wall | Bad. The wall subtracts the warm content it is not able to reflect, so an orange projection turns muddy brown |
| Gloss or semi-gloss | You get a specular reflection of the lamp itself inside the disc — a bright spot that ruins the gradient |
| Textured render or brick | Every bump casts a small shadow. It can look good, but it is a texture effect rather than a smooth sun |
If you only have dark or coloured walls, project onto the ceiling instead, or onto a plain curtain. A pale curtain is an excellent surface: matt, slightly translucent, and the gentle irregularity of the fabric softens the disc edge attractively.
Setting the colour on an adjustable model
On an RGB model, the temptation is to go for the most saturated orange available. Resist it a little. Two notes from testing:
- Real low sun is around 1800–2200 K — deep amber with almost no blue content, close to candlelight. If your lamp has a white channel, that is the target. If it is pure RGB, this means red at full, green at roughly a third, blue at or near zero. Adding any blue back in pulls the result toward pink, which reads as a novelty light rather than a sunset.
- Fully saturated single-colour light renders skin and fabric badly. With almost no green or blue in the room, anything that is not orange goes grey-brown. This is why a saturated sunset lamp is a good backdrop and a poor light to actually live under. If people are in the room rather than in the photo, back the saturation off.
Getting the photographs
None of what produces the listing images is about the lamp:
- All other lights off. Not dimmed. Off. Any second light source in the frame destroys the effect because it gives the camera something else to balance against.
- Lock exposure down. Tap and hold on the brightest part of the projection so the camera exposes for the light rather than the dark room. Left on auto, the camera brightens the whole frame and the disc washes out to pale yellow.
- Set white balance manually if your camera app allows it. Auto white balance actively fights you here: it identifies the strong orange cast and tries to neutralise it, turning your sunset beige. Lock it warm.
- Shoot from where the gradient is longest — usually along the wall rather than facing it, so the falloff is visible across the frame.
- Put something in front of it. A plant, a chair, a person. The projection is a background; photographs of a background are photographs of a wall.
Before you fix anything down
- The lamp will be in shot. It sits on the floor or a surface pointed at the wall, so plan where it hides — behind a sofa arm, a plant pot, a shelf edge.
- The cable runs across the floor from wherever the lamp sits to a socket. Most sunset lamps run from 5 V USB, so a phone charger or a power bank behind the sofa is enough; decide the route before you settle on a position, because the position that looks best is often the middle of a walkway.
- Heat and ventilation. These concentrate light through a lens and the housing warms up. Do not tuck one into a fabric-lined nook or leave it face-down on a rug.
- It is not room lighting. A sunset lamp is one narrow-spectrum source aimed at one wall. Do not plan it as the lighting for the space; plan it as an addition to it — the same contrast rule that governs a star projector applies here.
When the disc looks wrong
| What you see | Likely cause | What to do |
|---|---|---|
| Blurry edge, and you want it sharp | Too far for the lens's depth of focus | Move closer. If the lamp has a focus ring, set it at the distance you will use, not on a table at arm's length |
| Bright hot spot in the middle | A glossy wall reflecting the source, or the lamp too close for the optics to spread the beam | Back off, or move to a matt surface |
| Orange comes out muddy brown | Blue or green paint absorbing the warm content | Project onto the ceiling or a pale curtain |
| Sunset looks pink | Blue channel above zero | Red full, green about a third, blue off |
| Camera shows beige, not orange | Auto white balance neutralising the cast | Lock white balance warm and lock exposure on the disc |
Outdoors is only for models rated for it. Most are indoor units with vents, and vents admit water. A summer evening on a covered balcony is a different proposition from permanent outdoor mounting.
Setting it up tonight
Room lights off. Lamp 0.5–2 m from a matt pale wall, aimed into a corner or from one side, with a shelf or sofa cutting the bottom of the disc. Adjustable models: red full, green a third, blue off, then back the saturation off if people will sit in the room. Our adjustable-colour sunset lamps use LotusLamp X; fixed-colour models have no app at all, by design. Which app controls your light has the mapping, and first-time pairing the steps if the lamp does not appear.
Questions about a specific sunset lamp of ours? Contact us.